This post is long overdue, as well as some other posts. I saw the end to the home build in site and pretty much ran with it as fast as possible. On this day, May 20th 2016, the construction of the cabin is complete. Faith and I are waiting on a septic system before we can move in, so I figured this would be the perfect time to catch up on the blog.
For the floor in our house, we had three requirements: wood, cheap, and rustic. This led us to a somewhat unpopular decision in pine tongue and groove. I say pine is unpopular for good reason; it’s so soft that to call it hardwood floors would be a lie. Also, pine has a tendency to splinter a bit and, over time, can really start to look barn-ish.
With all that said, it was very cheap and I really like the character that pine flooring gains over time. A well worn pine floor has a sheen and oily smoothness to it that is hard to find in harder species. Just within the installation of this floor, there are plenty of scratches in it to write home about. So my initial reaction is that I don’t have to baby this thing because no amount of tending will keep this floor looking pristine.
I sourced my floor from Lumber Liquidators and received all of it for 1.29 a square foot. Seriously, that’s an insane price.
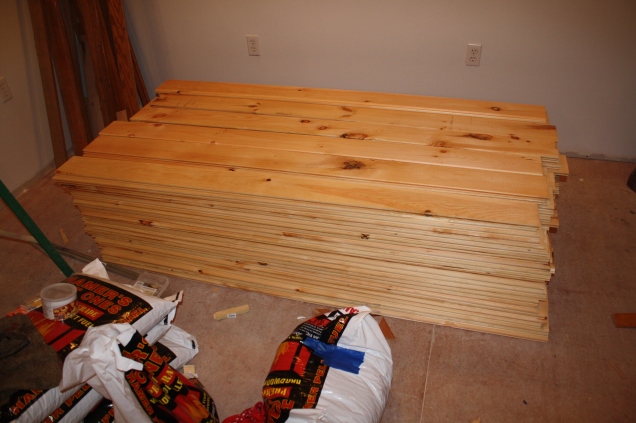
About 10% of the pile was rubbish, but I was able to put the bad parts under the kitchen cabinets and the built in bookshelves in the loft. I ended up with much more flooring than I needed, but I never complain about that. There are tons of projects you can use left over tongue and groove for.
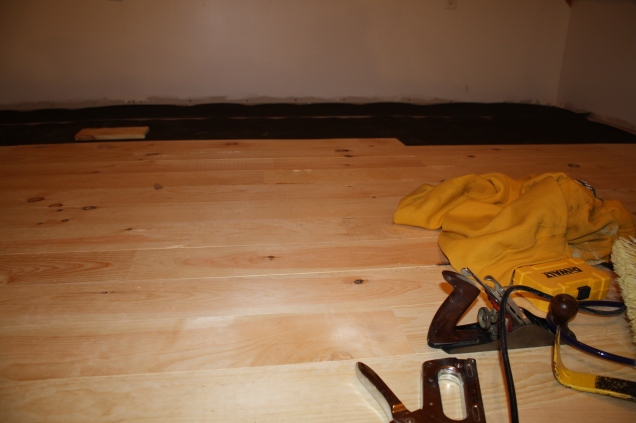
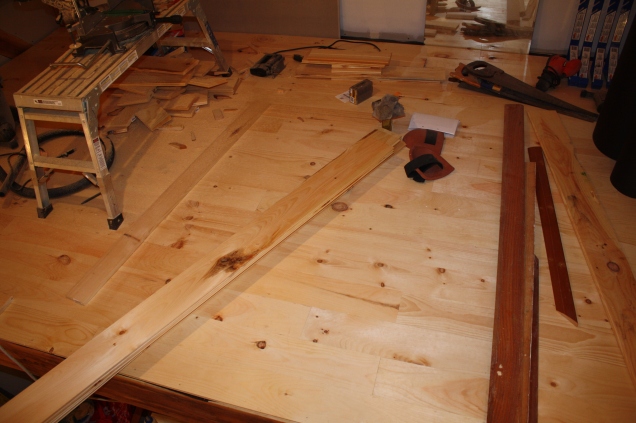
First I put down 15 lb felt paper as my underlayment and barely overlapped the seams. Once the paper was down, I started in the lofts where people wouldn’t see as often and laid the first row with a chalk line. The first row I had to face nail first and then nail into the tongue. Every row after that, I just had to nail the tongue since the groove held the other side of the board.
I nailed every board by hand. I could have used a nail gun, but I decided against it for a couple reasons. First, I’m stubborn. When I had a perfectly good hammer and not the right nail gun for the job, I just suffered with the tools at hand. Second, I had more control with a hammer and nails. My subfloor is oak and poplar. If I used a nail gun, I would have to set the pressure really high to sink the nail far enough into the subfloor, but that would also potentially blow right through the tongue on my flooring. So I resorted to nailing a nail in so far, and then countersinking the nail all the way with a nail punch.


The process was deathly slow, but I prevailed in the end.
Once the floor was down, we stained it with a dark walnut stain to really make a contrast between the lighter timbers on the walls/ceiling to the floor. After staining it, we finished the floor with a product called Waterlox. It’s a premium tung oil mixture that leaves a natural matte finish. I don’t have any pictures of it done, but be sure to see the youtube video for more details.
Thanks for tuning in again, and be sure to comment with any questions you have.


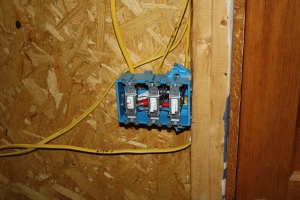 The two switches on the right are for the interior track lights and the one on the left is for the outside lights.


